Facebook pixel WhatsApp
Back to News & Blog

Top 7 Tips for New Underwater Photographers

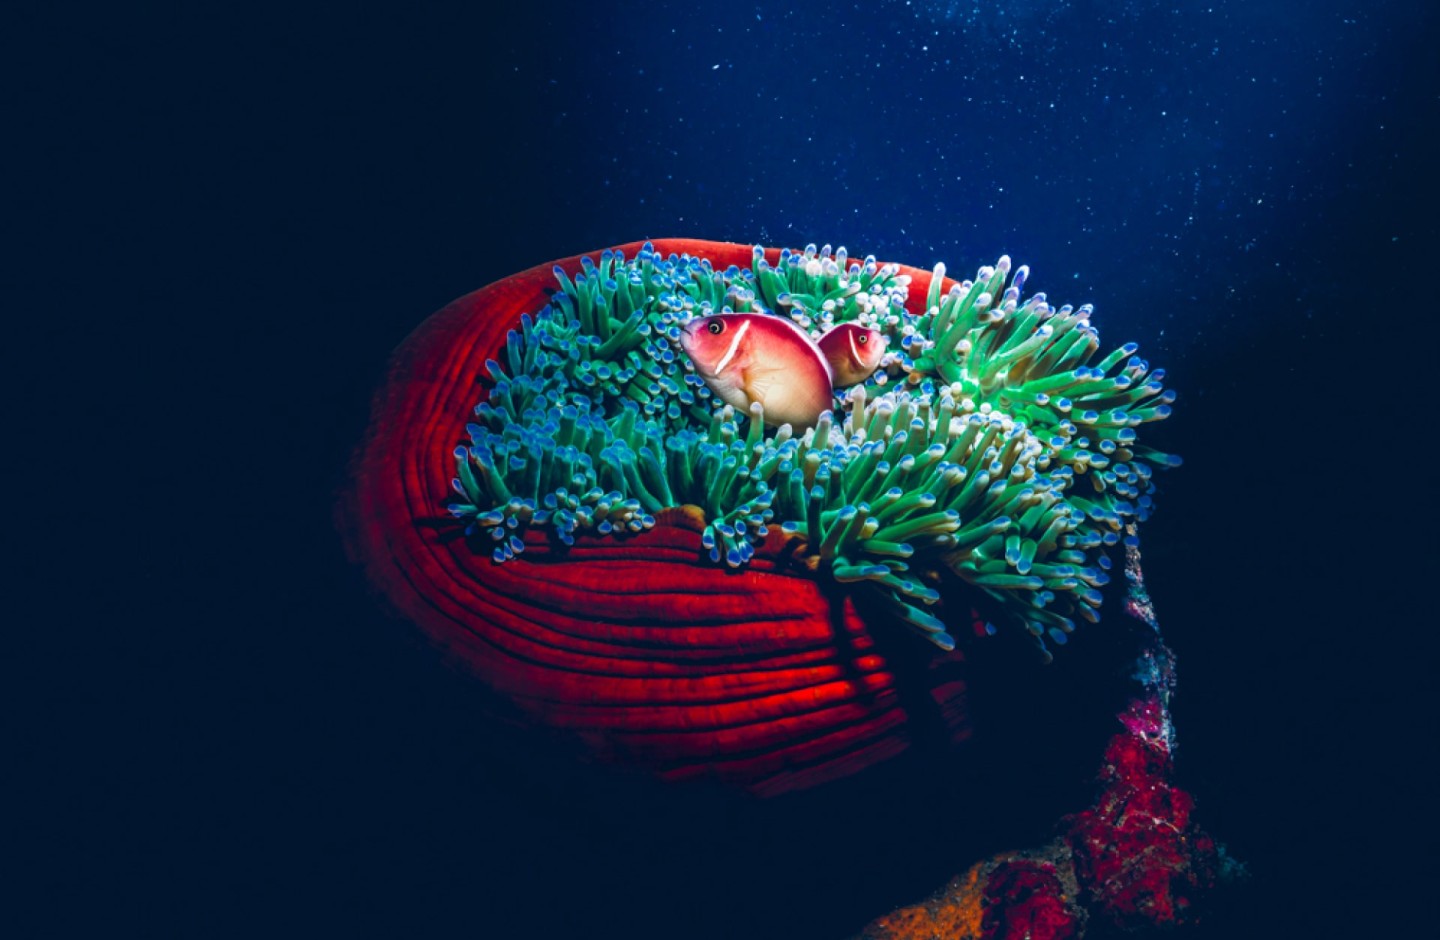
bright corals diving gili islands

Digital photography has changed significantly in the past 10 years. Cameras and housings have gotten smaller. Much smaller. And as they've shrunk so have their price tags. Thanks to this, it's meant the barriers to entry for new photographers have largely been removed. Now even the most novice photographers can capture quality shots with a little practice. If you're looking to up your game, take a look at our recommendations for new photographers. By adopting some of these tips, you too can get that insta-shot, or centrefold you've been looking for.

#1: Leave Your Camera Behind

The number one piece of advice we can offer to new underwater photographers is to master your diving skills first. Before you go off and by that shiny new camera, you should ensure you have the attributes of a good diver first. We're talking buoyancy control, underwater navigation and the other key skills taught in your scuba training. Divers who take on underwater photography before they have this mastery will only be a liability. Not only to themselves but to their group and the reef itself.

Other than safety, why are these important? As a photographer, your hands will almost always be occupied. So strong buoyancy is integral to move within the water column. Being able to hover in one spot, without holding onto anything is also key. If you want crystal clear shots, master both of these skills first.

General confidence and awareness underwater is also a must. Not only do you have to manage your camera, but you still must keep an eye on your air consumption and gauges.

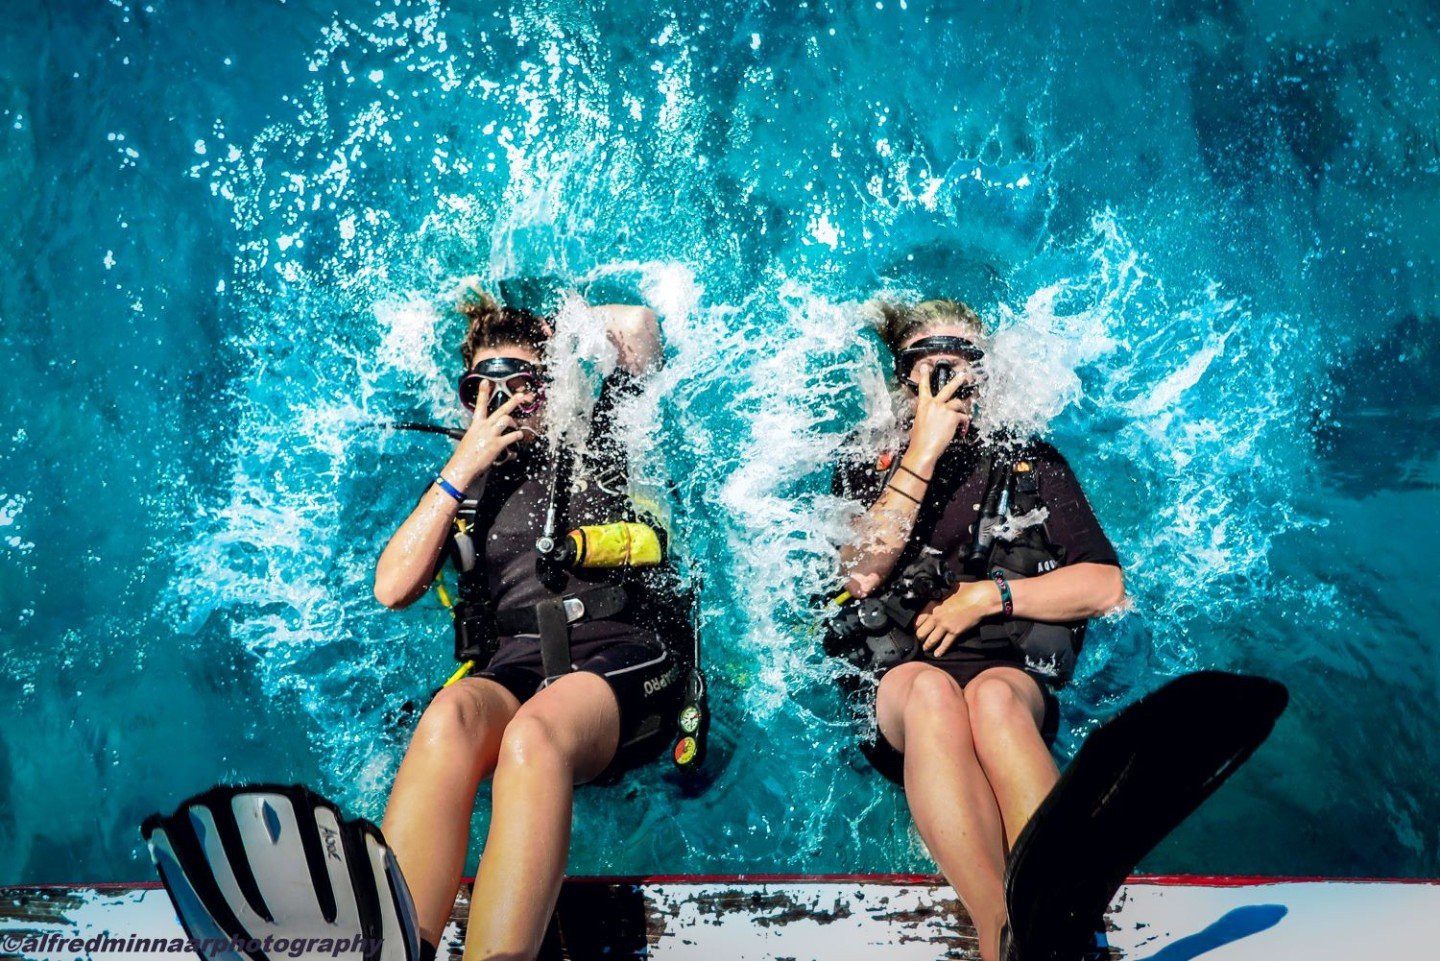
backroll entry manta dive
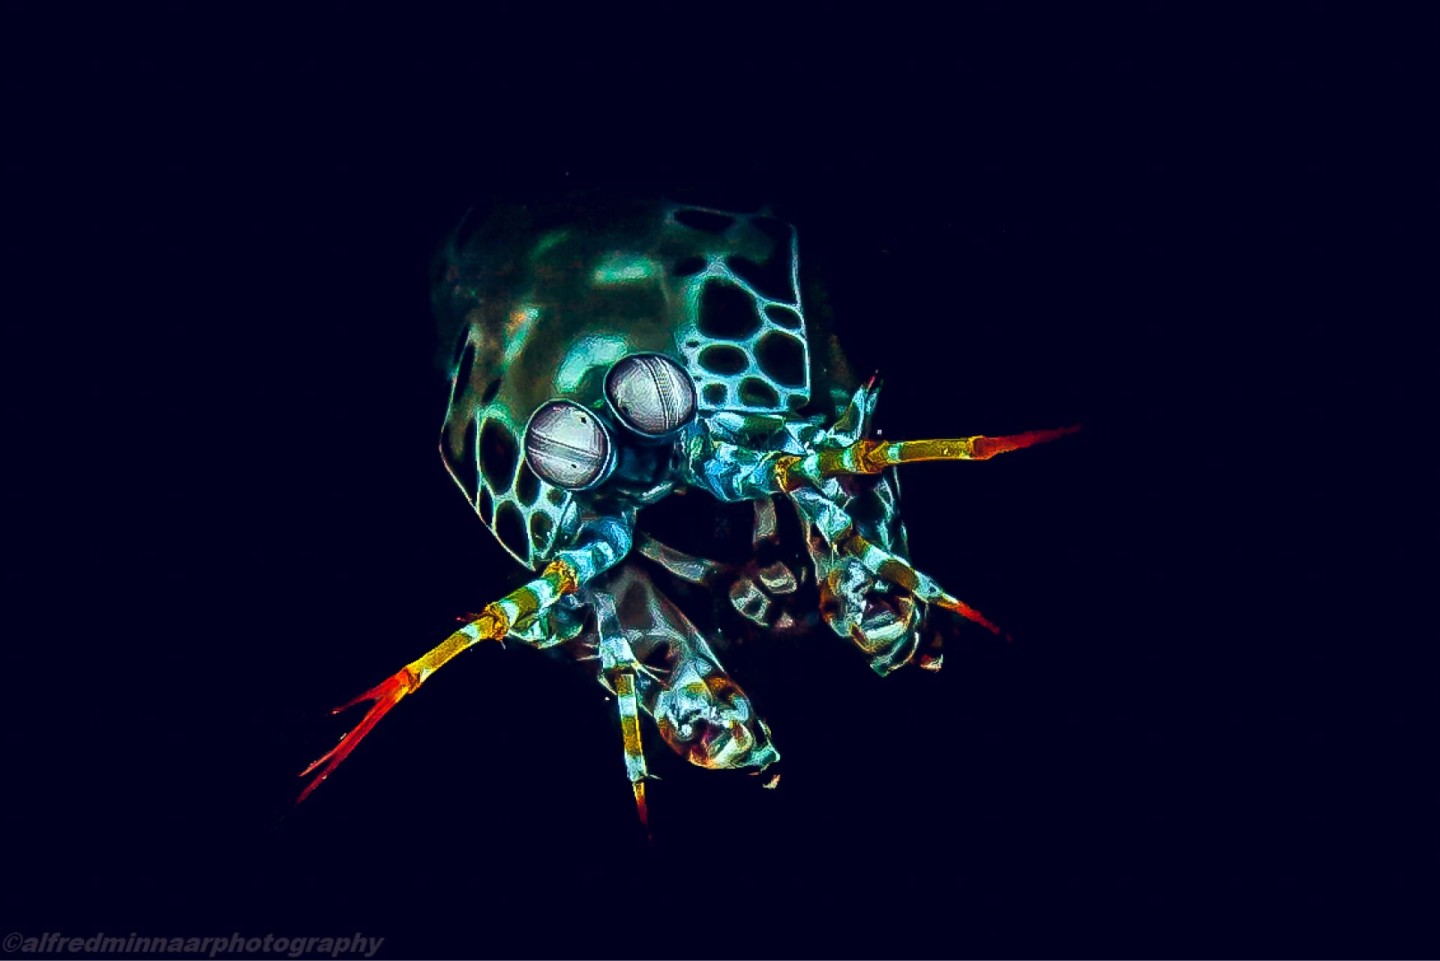
mantis shrimp night dive gili islands

#2: Get Close

The golden rule of underwater photography - get close, and then get closer. There are a few very good reasons to keep this rule at the forefront of your mind.

Getting closer to your subject helps to reduce the amount of water you are shooting through. Less is definitely more here. This is because water is 800 times denser than air. Water absorbs light much more quickly. So the less water you have to shoot through, the better your colour, saturation and contrast will be. Every centimetre matters. Photographers do need to use common sense, though, with this rule. If shooting wildlife, don’t stress the animals trying to gain those centimetres. But in most other cases, you should try to strive to get as close to your subject as possible. Your photos will be much more vivid and in focus, if you follow this rule.

If using a strobe, getting closer will also help to reduce the backscatter in your photos. Less water means fewer particles to reflect light from your flash. Getting closer also helps ensure the maximum amount of light falls on your subject. Which means a clearer and brighter photo.

TIP: NEVER use your cameras digital zoom underwater. Move closer to fill your frame.

#3: Get Low, and Then Lower

Nothing separates a decent photo from a great photo more than composition. Unfortunately, errors in composition tend to be the most common mistakes by novice photographers. Especially when it comes to shooting upwards. Most of the time you will see novice photographers shooting downwards onto their subjects. Sometimes this may work for the photo. But more often than not, shooting downwards will lead to distracting backgrounds or poor contrast with the seafloor. When shooting underwater, 9 times out of 10 you should try to get low and beneath your subject, if possible. This enables you to separate your subject from the background. Either through framing it with the clear blue of the ocean or silhouetting it with a ridge line or mound.

Getting below your subject may not always be possible. Divers should always be mindful of their surrounding environment, before trying to engage. Gauges, fins and limbs are all master reef destroyers, so ensure these are up and out of the way when getting low. Often times, though, a diver’s best option will be to move on and search for a subject more suited for shooting up.

TIP: Seek out reef heads surrounded by *unoccupied* sand. This will allow you to search for subjects higher on the reef while being able to get down low on the sand and shoot up.

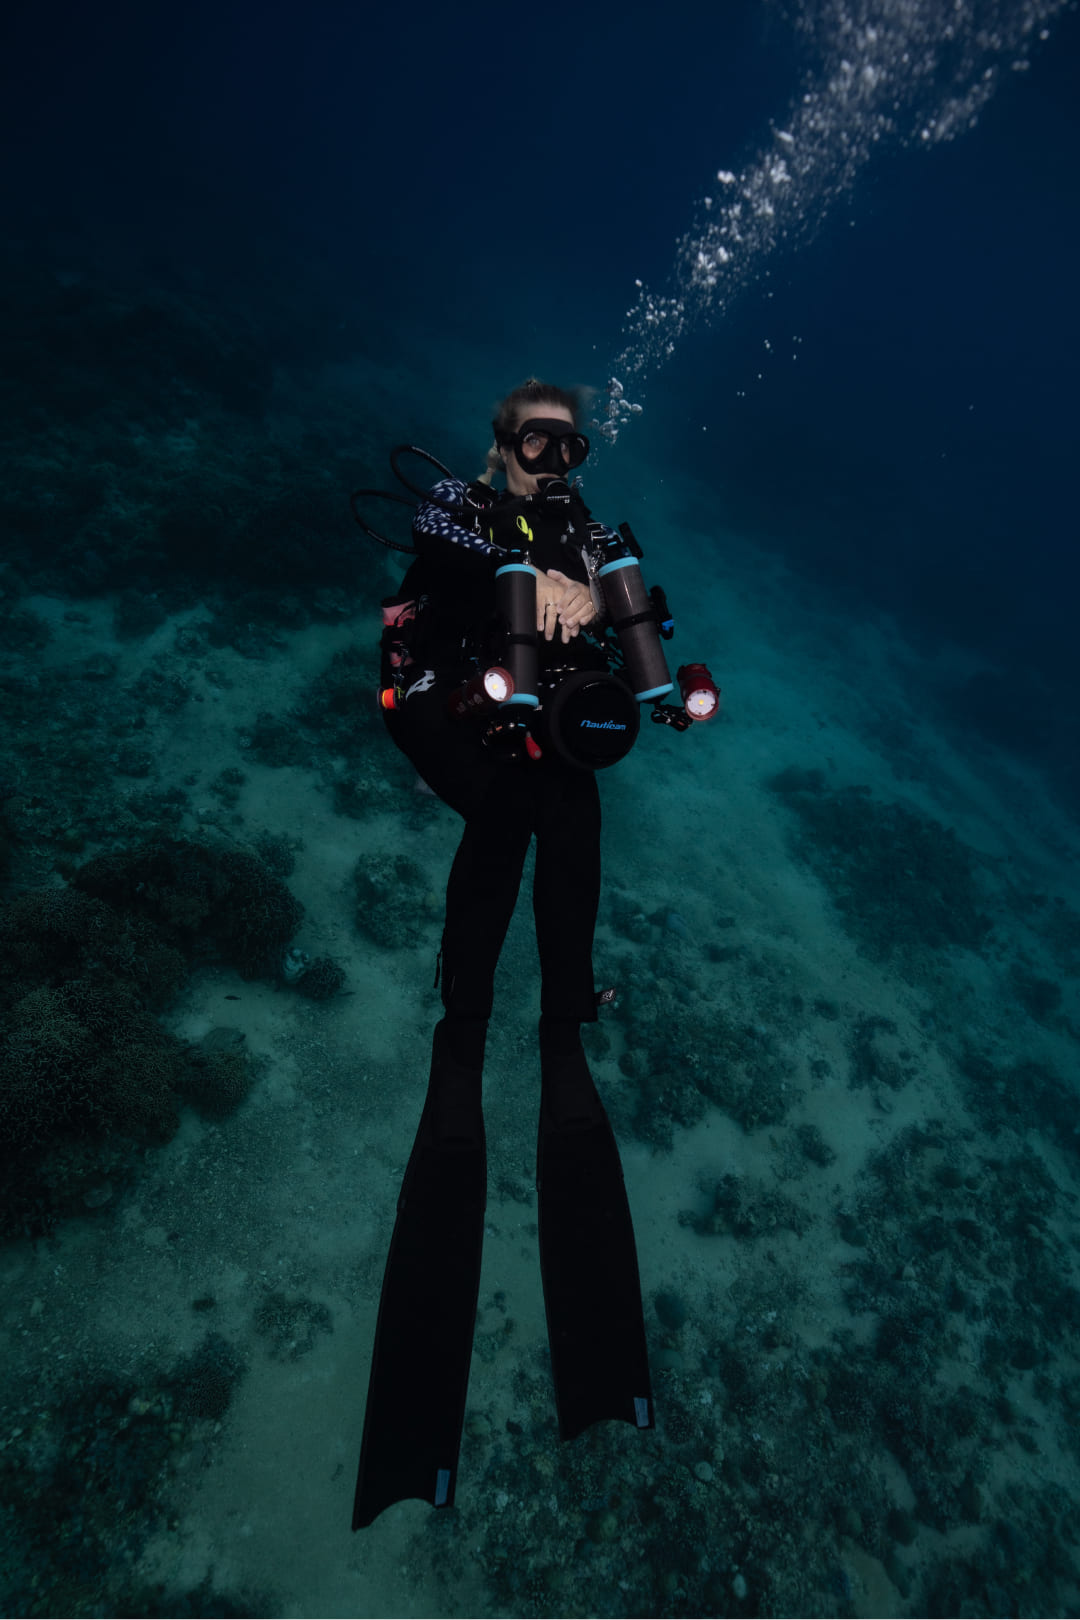
photographer professional diving photos

#4: Shoot Vertical

Don’t be afraid to shoot in portrait! It’s easy to take horizontal photos all dive long. Sometimes, though, best composition demands a vertical orientation. Before you start snapping away, ask yourself “what orientation will best portray this subject/scene?”

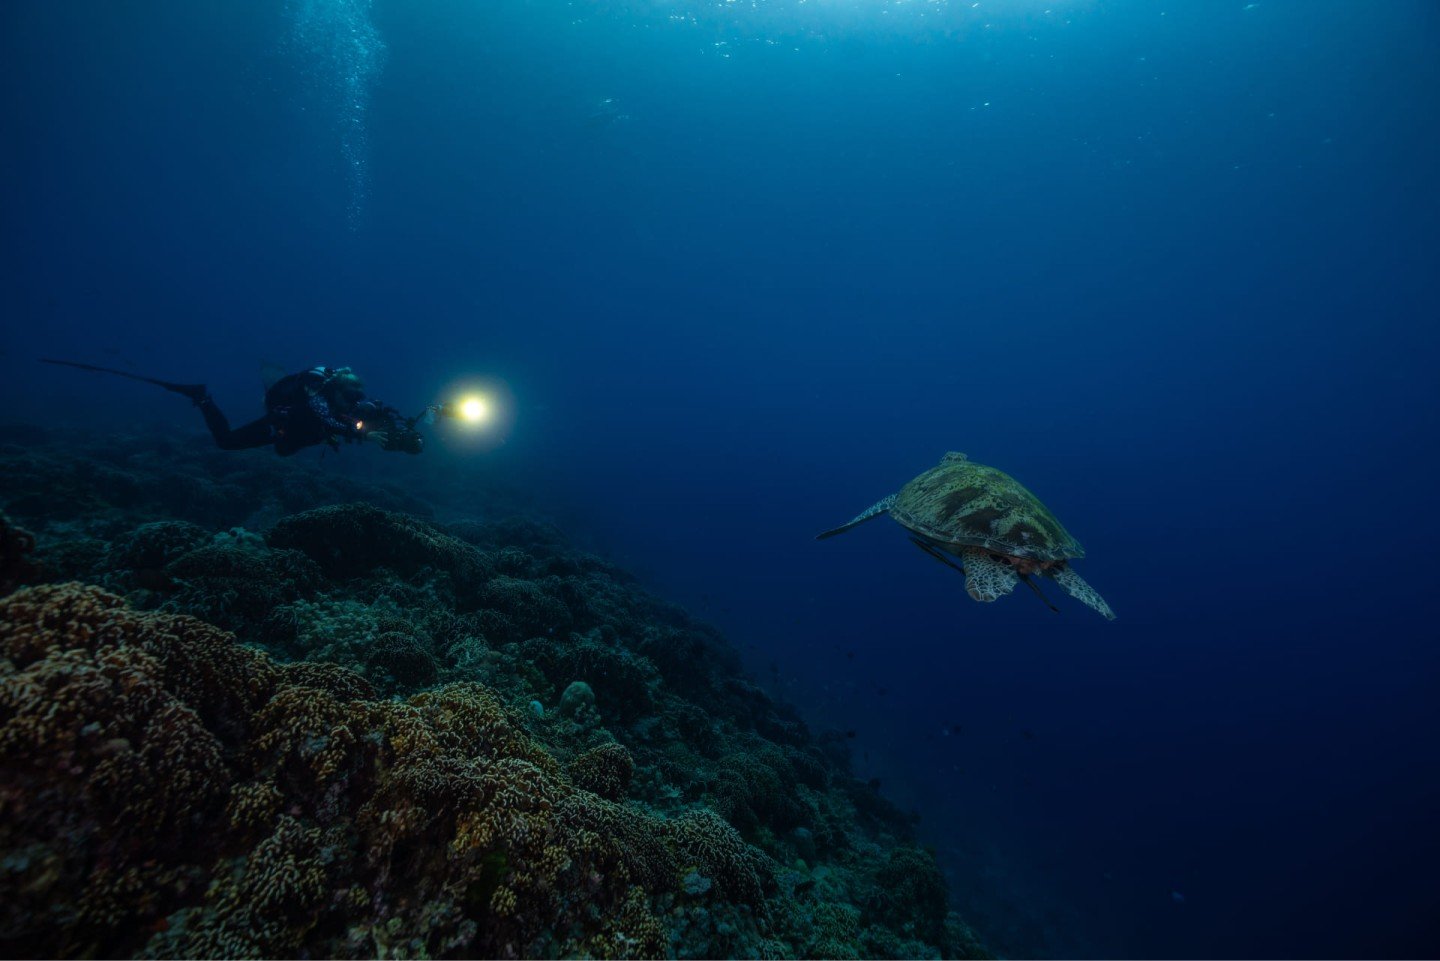
diver and turtle gili t

#5: Use a Flash/Make Use of Ambient Light

Learning to use your internal flash, strobe, or ambient light correctly is a must if you want to capture photos that aren’t washed out in shades of blues and greens.

If you’re using your camera’s internal flash as your main source of light set it to the forced flash mode. This will ensure that it always goes off. You also want to set your camera’s white balance to auto. You won’t be able to manually adjust your white-balance when using your camera’s flash (internal or external), so this step is key.

If you decide you want to take your photography to the next level, a strobe should be your next investment. Aside from providing the obvious advantage of better illumination, strobes will also allow you to reduce the presence of backscatter in your photos. You can do this through the proper positioning of your strobes. You should have them as far away from your housing as possible and have them angled so they do not shine directly on your subject.

Alternatively, if you prefer to use ambient light only when shooting, you will need to use your camera’s manual white balance settings. To do this, take a photo of something white at the depth you will be shooting. This will allow your camera to adjust its colour settings accordingly and should eliminate some of the blueness that will result while shooting underwater. Remember - as you descend, more and more colour will be lost. To correct this you will need to adjust your white balance settings each time you change your depth.

TIP: If possible, stay shallow when shooting with ambient light. The shallower you are, the more sunlight will be able to penetrate. This will allow you to achieve well-lit photos without having to reduce the shutter speed.

TIP: Don’t forget to adjust your strobes! Many divers fall into the habit of setting their strobe(s) at the beginning of the dive, and then leaving them in that position for the next hour. You paid the big bucks for this add-on - so make sure you use it to its full extent. Most, if not all arm systems have adjustable segments that allow for easy movement of the strobes. Take advantage of that! Not every subject will require the same lighting - so use your strobes and adjust them to your benefit.

#6: Have Patience

They say patience is a virtue and when it comes to photography it certainly is. It’s easy to feel rushed underwater and to fall into the trap of snapping a few shots and then moving on. Focus, fire and move on. This is a common pattern for new underwater photographers. Unfortunately, this is not the approach to take if you want to nail your shots. Instead, the next time you find a great subject, invest in it. Take note of your air supply and bottom time, and then take some time to shoot the subject properly. Play with angles and settings. There’s a reason we carry large memory cards in our cameras, and this is it.

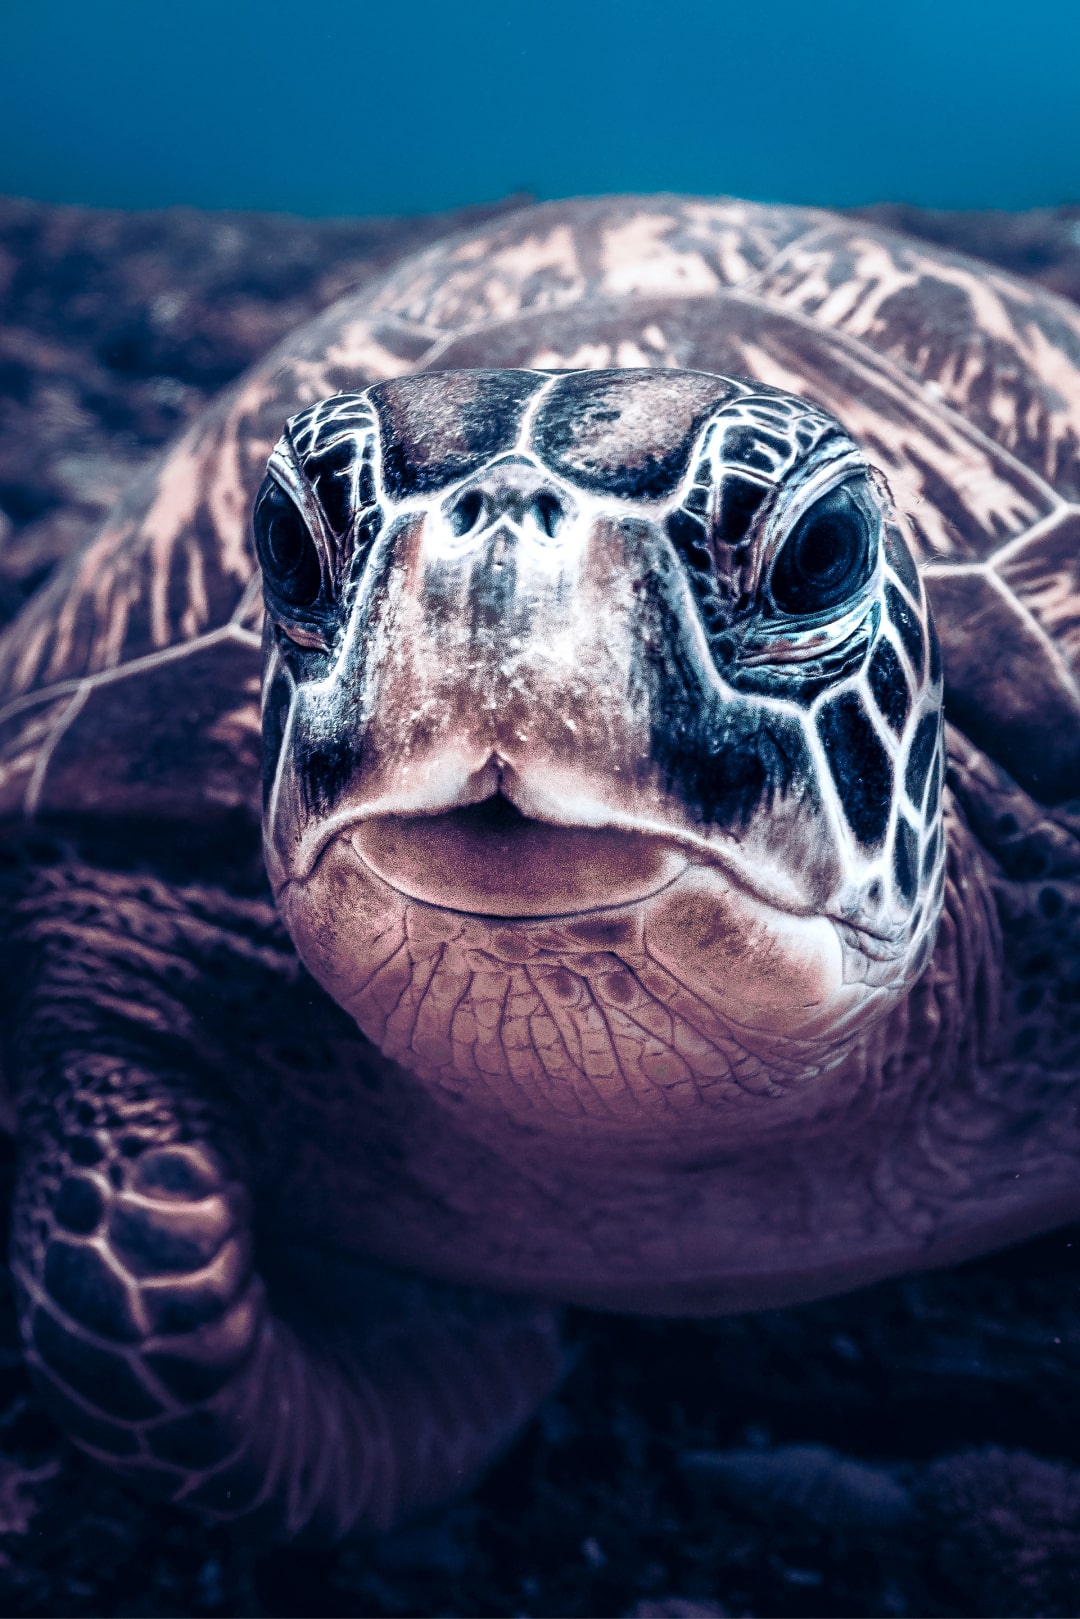
curious turtle diving gili trawangan

#7: Practice Makes Perfect

When it comes to underwater photography, the saying “practice makes perfect” definitely comes into play. To master the art, you need to familiarise yourself with your camera, and then dive with it. A LOT. The biggest way to improve your photos is to dive as often as you can and experiment with your camera. You may think your photos are garbage in the beginning, but we promise you will see improvement the more you play around with settings and experiment. Underwater photography is not easy - we can promise you that with time, patience and practice the rewards will be worth it.

With those seven tips in hand and a whole lot of practice, we can guarantee an improvement in your photos. If this all seems a bit overwhelming, no worries! There is a massive learning curve for underwater photography. It might mean a program like the SSI Digital Photography specialty is better suited for you. The course will teach you the skills needed to master your camera and take beautiful photos underwater. It ensures your first experience is within a controlled environment with an instructor. So there is no stress! You can also combine other specialities with it! Perfect buoyancy? Yes, please! Shark ecology? Why not! The possibilities are limitless!

For Enquiries & reservations

Office hours 08:00 - 20:00 GMT+7

Contact us Or call: +62 (0) 81237889378